
At many conventions it is fun to see all the people dressed as characters from anime, movies, etc. I wanted to give mascot cosplay a try and decided to make Baymax from Big Hero 6. Most cosplayers have used PVC-based white sumo suits to make their Baymax. But when I saw how huggable the character is in the movie, I wanted to make my cosplay huggable too. This Baymax will be made out of felt so it will make a great winter cosplay.
I started with the inside of the cosplay as the base. It only consists of a long sleeve top and pants. If you plan to use something soft like pillows for the arms then a short sleeve shirt may be more comfortable. In case of cosplay malfunctions I decided to make the clothes white too.
The outside of the cosplay is designed like a humongous plush. All of the pieces were sown together by machine and then flipped inside out. I used Baymax plushie guides to figure out the general design for my cosplay. Here is a link to one of my favorites: How to make Baymax Plush
The cosplay was divided into sections to make it easier to stuff and move around in later. The pieces were grouped as follows:
- Mask and helmet (Top)
- Arms, abdomen, and shirt (Middle)
- Legs and pants (Bottom)
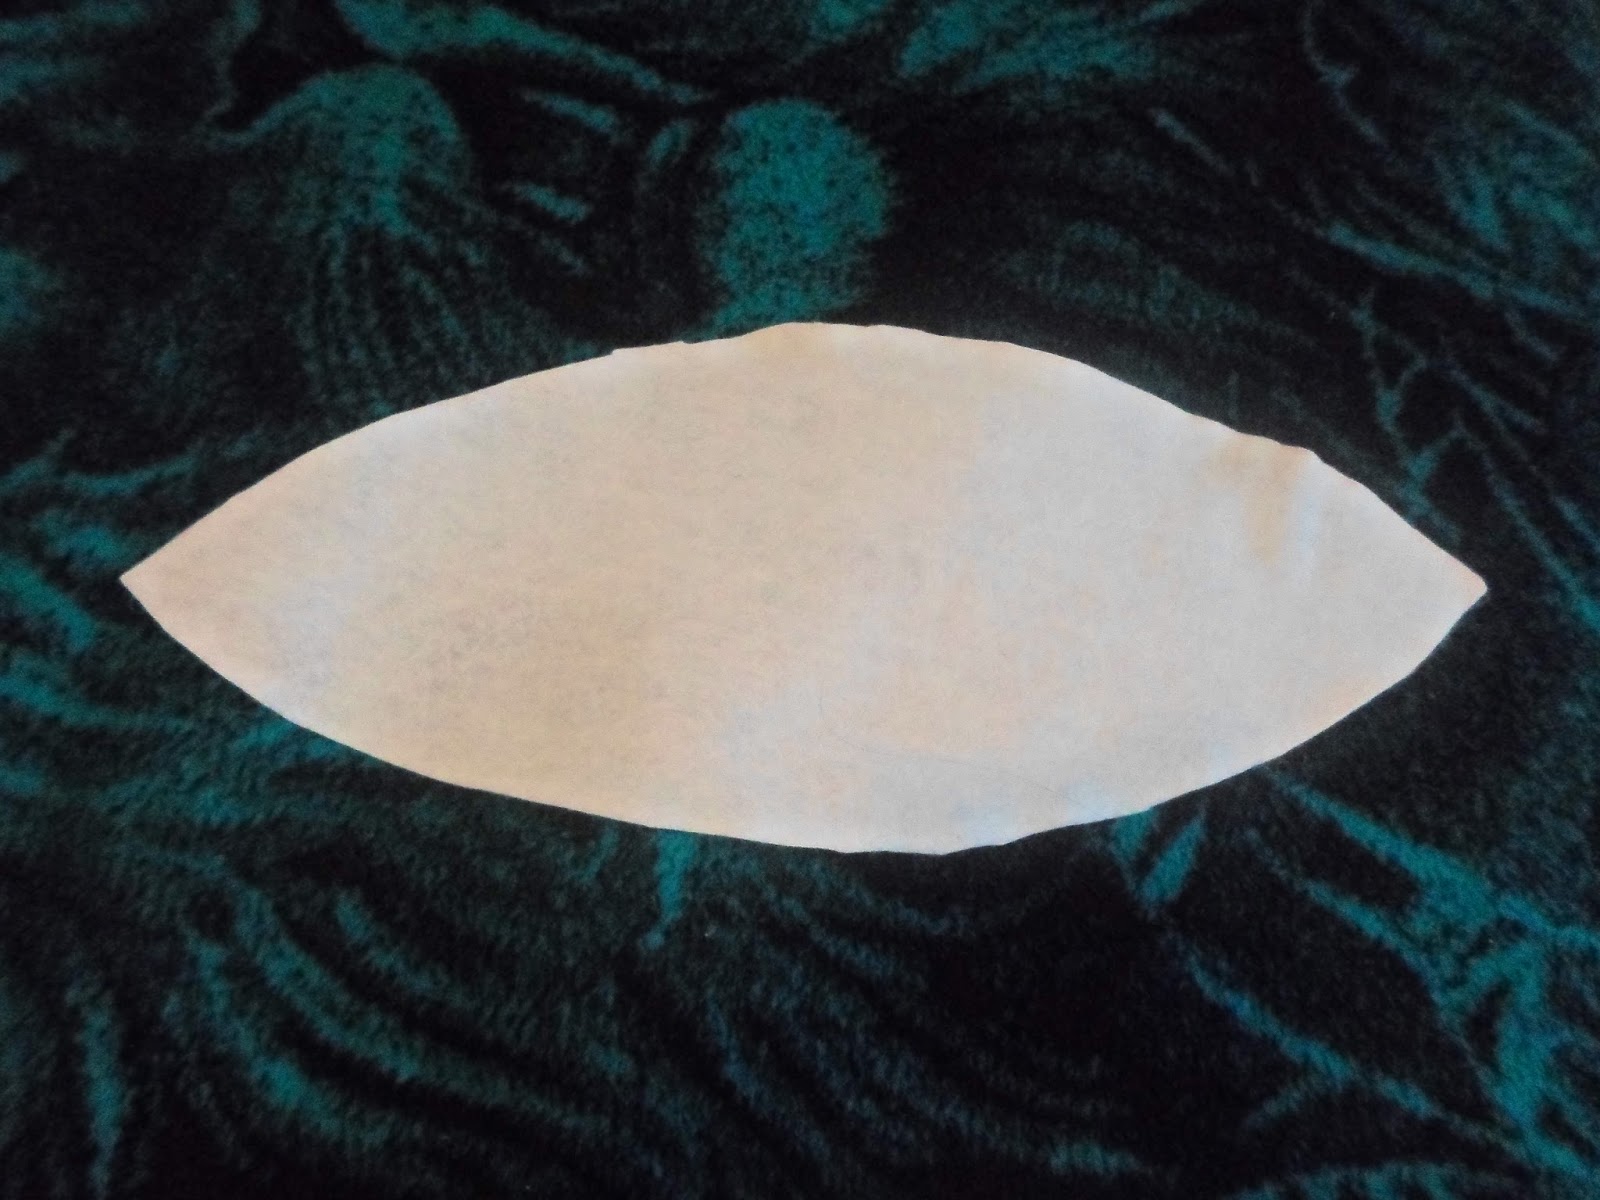
I've heard stories about heating up in a suit so to be safe I decided to make the head as airy and hollow as possible. I sowed together 6 eye shaped pieces with two that were modified. One had a slit for the head opening and the other had Bayma's face (which was covered in black mesh material). After turning the mask inside out I glued white foam onto the inside of the mask to provide shape.


The arms were designed to be oval shaped with openings to make the sleeves and hands. For the hands I simply left two openings on each hand; one for the fingers and one for the thumb. I plan to use white mittens to keep the design consistent. The sleeves were designed based on a fabric pattern

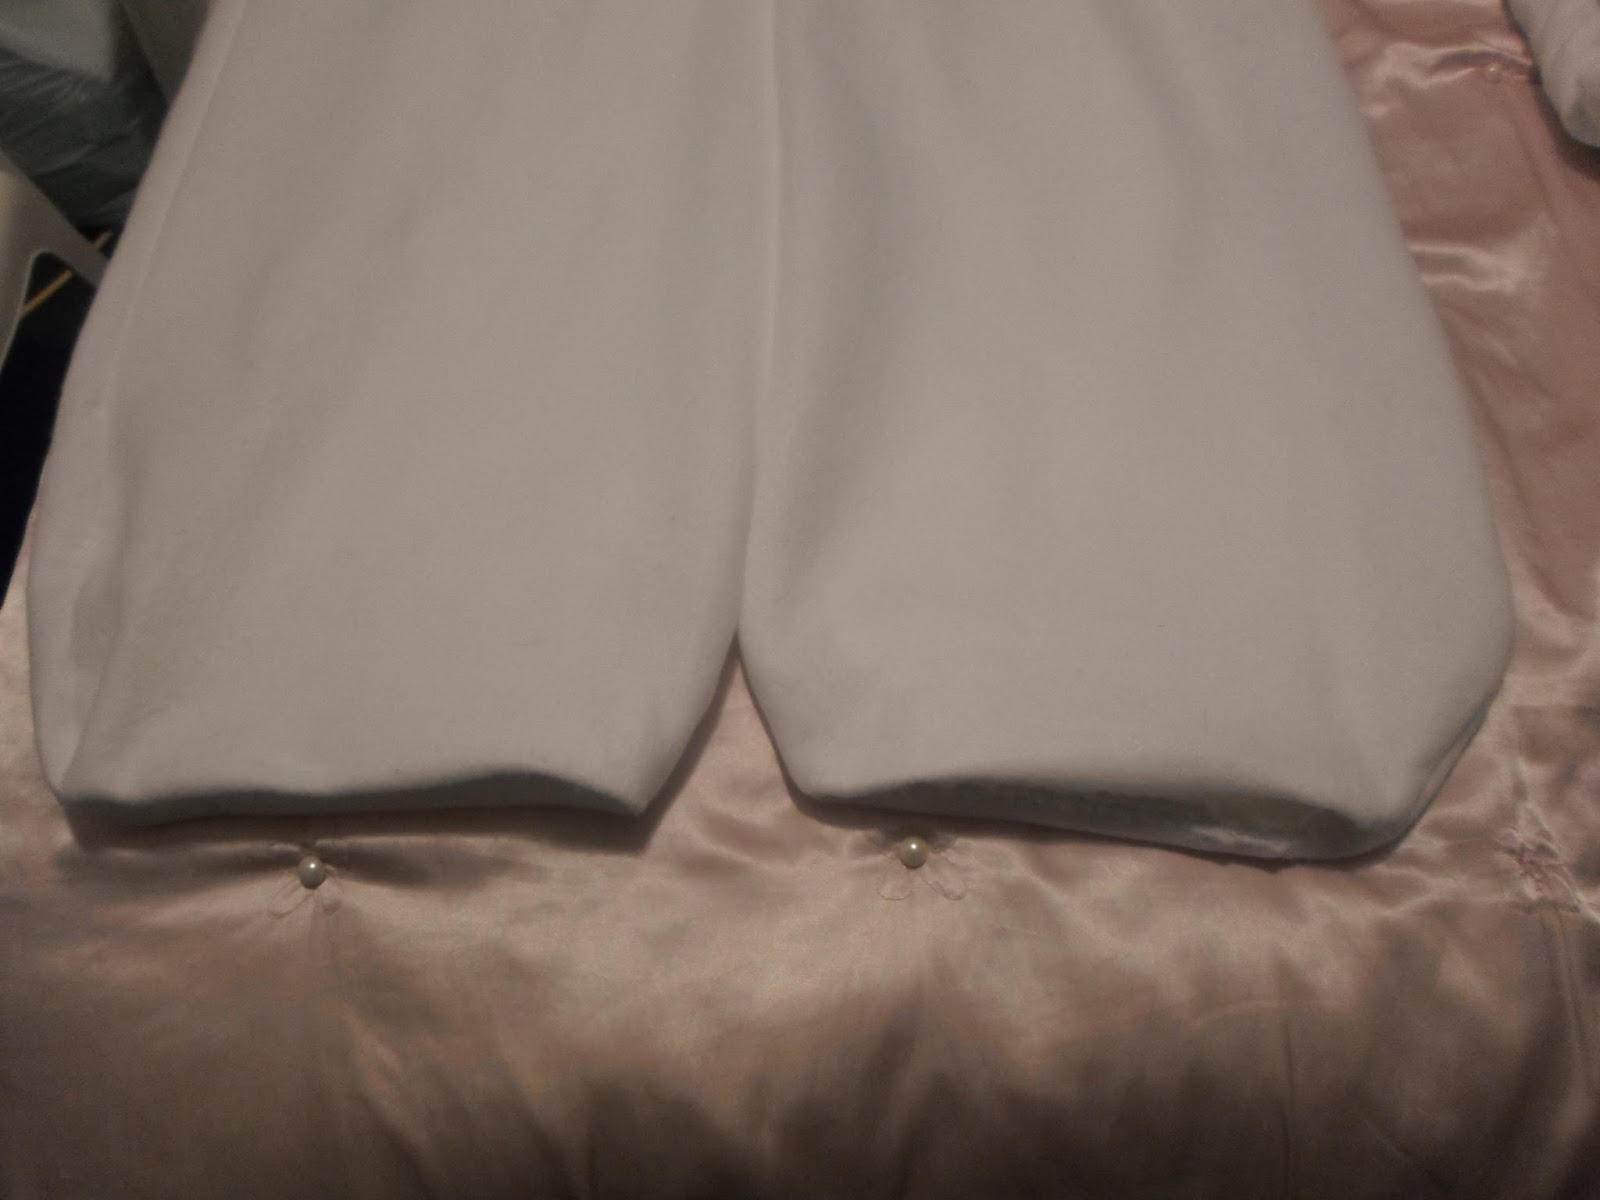
To make the bottom, I combined the pants and legs and attached overalls. The limbs were rectangular with a bit of a U-shape at the end. This was tucked along the bottom of the pants and hemmed in place. The top of the legs were left with a gap to allow stuffing. I sowed buttons along the top edge of each leg and used overalls straps to secure the Baymax legs to the rest of the body.

Finally, I sowed on the accessories on the outside of the suit and used a combination of pillows and air packets to make the stuffing.

No comments:
Post a Comment